A dedicated flight sim radio panel is worth it only if you fly enough IFR to need frequencies and course values at a glance — for most simmers, a DIY button box covers more cockpit functions for a third of the price. The radio panel’s one real advantage is its display: it shows the active and standby frequencies on a readout your homemade box can’t easily replicate.
This is the question I get asked most after someone builds their first box: do I still need to buy a radio panel? The honest answer is “probably not, and here’s exactly when you would.” I run both on my deck, and the radio panel earns its desk space only on the flights where I’m tuning approaches and dialing courses constantly. For everything else, the button box already won. If you haven’t built a box yet, start at the DIY button box guide; this piece is about whether to add a radio panel on top of one.
What a radio panel actually adds
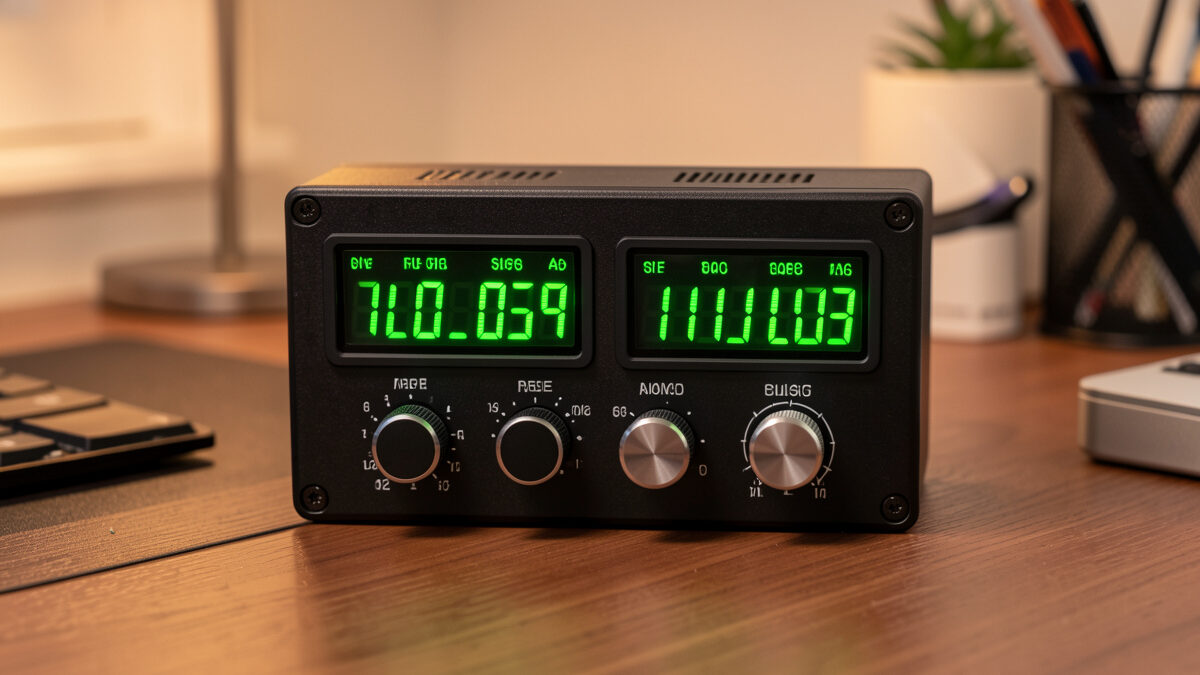
The thing a dedicated radio panel gives you that a button box fundamentally can’t is a display. A real radio panel has a segmented readout showing the active and standby COM/NAV frequencies, plus a dual concentric rotary knob to tune the megahertz and kilohertz digits independently. You glance down, see 118.30 standby, twist it to 121.90, and swap it active with a button — all without ever opening a sim menu or looking at the on-screen radio stack.
That readout is the whole value proposition. A button box can tune a frequency with an encoder, but it can’t show you the number — you’re still reading the frequency off the screen. For VFR flying where you set a frequency occasionally, that’s a non-issue. For dense IFR where you’re juggling approach, tower, ground, and a couple of NAV radios on a busy arrival, having the numbers on a physical readout genuinely reduces head-down-in-menu time. The display is what you’re paying for, not the buttons.
What a button box already covers
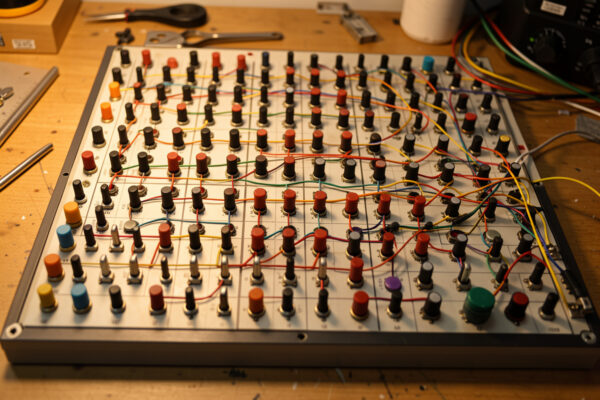
Before you spend on a radio panel, be honest about how much your box already handles. A button box with a couple of encoders does most of what a radio panel does for the COM/NAV stack — you can assign encoders to tune frequencies and buttons to swap active/standby. It also does a hundred things the radio panel doesn’t: gear, flaps, lights, fuel, electrical, autopilot toggles. As an Amazon Associate I earn from qualifying purchases. The rotary encoders that handle tuning cost a couple of dollars each.
The single thing the box can’t replicate cheaply is that frequency readout. Some builders have driven small OLED or seven-segment displays from the same microcontroller, pulling the live frequency out of the sim with open-source tools like MobiFlight — but that crosses from a simple button box into a display-output project with sim-connection software, which is a meaningfully harder build. For the wiring side of expanding a box to cover radios, the wiring matrix guide shows how to add the inputs; the display is the part that pushes people toward buying a panel instead.
| Factor | DIY Button Box | Dedicated Radio Panel |
|---|---|---|
| Frequency display | No (read off screen) | Yes (physical readout) |
| Tuning knobs | Encoders (no digit display) | Dual concentric, digit-aware |
| Other cockpit functions | Dozens (gear, lights, fuel) | Radios and autopilot only |
| Cost | $30-40 built | $100-200 bought |
| Best for | Almost everyone | Heavy IFR flyers |
The IFR case for buying one
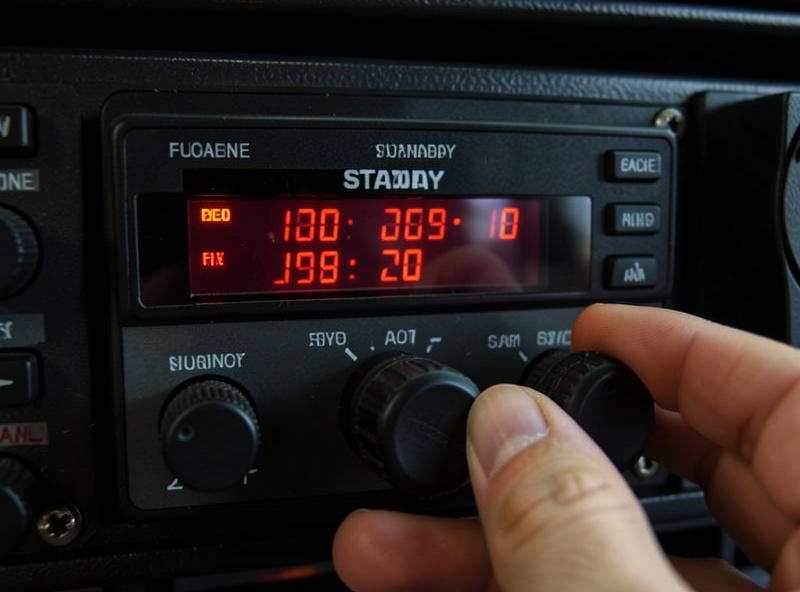
If you fly IFR seriously — instrument approaches, airways, frequent frequency and course changes — a dedicated radio panel earns its keep. On a busy ILS arrival you might tune approach, switch to tower, set a NAV radio for the localizer, and adjust the OBS course, all in a few minutes while also flying the aircraft. Doing that through encoders without a readout means glancing at the screen radio stack constantly; doing it on a panel with physical displays keeps your eyes on the instruments. That’s a real workflow improvement, not a cosmetic one.
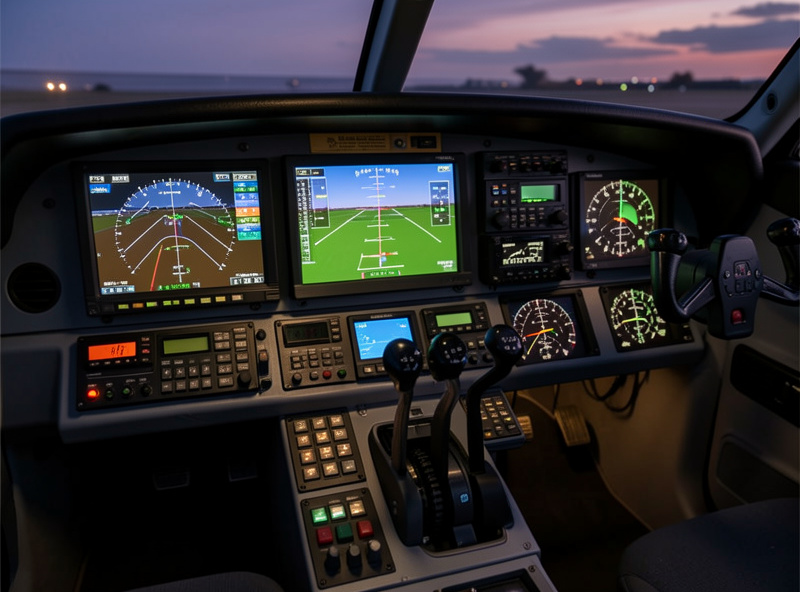
It compounds with study-level airliners and complex GA aircraft where the radio and autopilot work is constant. I’ll happily say a radio panel improves those flights on my deck. What I won’t say is that it teaches you anything about real-world radio procedure — I’m a simmer, not a pilot, and what real instrument students report about hardware transfer is their story to tell, not mine. The panel makes the sim workflow smoother; that’s the claim, and it’s enough.
The hybrid path: encoders now, display later
There’s a middle road that fits the builder mindset, and it’s the one I’d actually recommend before buying anything. Wire a small radio cluster into your button box now — two encoders for the COM and NAV frequencies, push-buttons for active/standby swap, and a couple more for OBS course. That handles the input side of radio work for the cost of a few encoders, and it tells you honestly how much physical radio tuning you actually do once it’s at your fingertips.
Fly that for a month. If you find yourself constantly squinting at the on-screen frequency stack to read the numbers you’re dialing, that’s your signal the display is worth paying for — and at that point you can either buy a dedicated panel or take on the harder display-output project. If instead the encoders-plus-screen workflow feels fine, you’ve saved $150 and learned something the unboxing reviews can’t tell you: whether the readout matters to your flying specifically. This is the same restraint that runs through every piece on this site. Build the cheap version, fly it, and let felt experience make the expensive decision. The display-driving firmware path, if you decide to chase it, is one of the options I lay out in the firmware options guide — it’s a real project, not a checkbox, and worth understanding before you commit to it.
My verdict by simmer type
For a VFR and casual flyer, skip the radio panel and put the money into a better button box or the next item in your upgrade order. You set frequencies rarely enough that encoders and the on-screen stack are fine, and the box’s coverage of gear, flaps, and lights does far more for immersion per krona. A radio panel sitting mostly idle is the definition of the gear-acquisition trap — hardware bought for the flights you imagine rather than the ones you fly.
For a dedicated IFR or airliner flyer, it’s a reasonable buy once the cheaper, higher-value upgrades are done — after pedals, head tracking, a throttle quadrant, and a solid button box. It sits in the same “panels” tier as the box itself, and the order matters: build the box first, fly instrument approaches for a month, and you’ll know from felt experience whether the readout is worth $150 to you. That test costs nothing but time, and it beats any reviewer’s verdict, including mine.
The one buyer I’d caution hardest is the simmer who wants the radio panel because it looks like a cockpit. It does look great on the desk, and that’s exactly the problem — a panel bought for the photo rather than the flight is the most common regret I hear. If your honest flying is mostly VFR sightseeing and the occasional pattern work, the radio panel will sit pretty and idle while your button box does all the real work. Spend on the box, spend on the upgrades that change how the aircraft feels in your hands, and let the radio panel wait until your flying actually asks for it. The deck should grow toward how you fly, not toward how it photographs.
Frequently Asked Questions
Is a dedicated flight sim radio panel worth buying?
For heavy IFR flyers, yes; for most simmers, no. The panel’s real advantage is a physical frequency display the on-screen radio stack would otherwise force you to read. VFR and casual flyers get more value from a DIY button box that also covers gear, lights, and fuel.
Can a button box replace a radio panel?
Mostly. A box with encoders can tune frequencies and swap active and standby, and it covers dozens of other functions. The one thing it cannot do cheaply is show the frequency on a physical readout, which is the radio panel’s defining feature.
How much does a flight sim radio panel cost?
A dedicated radio panel typically runs $100-200, versus $30-40 to build a button box that covers more cockpit functions. The price difference largely buys the segmented frequency display and the digit-aware dual concentric tuning knobs.
Do I need a radio panel for VFR flying?
No. In VFR flying you set a frequency only occasionally, so an encoder and the on-screen radio stack are perfectly adequate. The money is better spent on a button box or the next item in your hardware upgrade order.
Can I add a frequency display to a DIY button box?
Yes, but it is a harder build. Driving an OLED or seven-segment display means pulling the live frequency out of the sim through connection software, which crosses from a simple button box into a display-output project. Many builders buy a panel instead for that reason.
Where does a radio panel fit in the upgrade order?
Late. It sits in the panels tier alongside the button box, after pedals, head tracking, and a throttle quadrant. Build a button box first, fly IFR approaches for a month, and decide from experience whether a physical frequency readout is worth the cost.